1. Brainstorm: Use the attached thumbnail guide to plan your clay box. Remember: keep the FUNCTION of the box in mind. (Ex. if the box is going to hold pencils, it needs to be long and narrow.)
Click here for the Brainstorm sheet.
Click here for the Brainstorm sheet.


2. Watch. Watch how the artist below rolls slabs and attaches them using the "slip and score" method. Remember to use this method to attach (additive technique) anything to your piece. I will be looking for both additive (pop-out) and subtractive (carved out) techniques in your design. Below is the project sheet that outlines your objectives.
Click here for the Project Sheet.
Click here for the Project Sheet.
3. Create. First create slab pieces for your walls and base. Complete all designs before slipping and scoring pieces together. Finally, add you lid (this should be the most detailed and focus of your piece). Remember to dry the lid separate from the box to make sure they won't stick together.
4. Finished? Complete your Self Evaluation and Artist Statement.
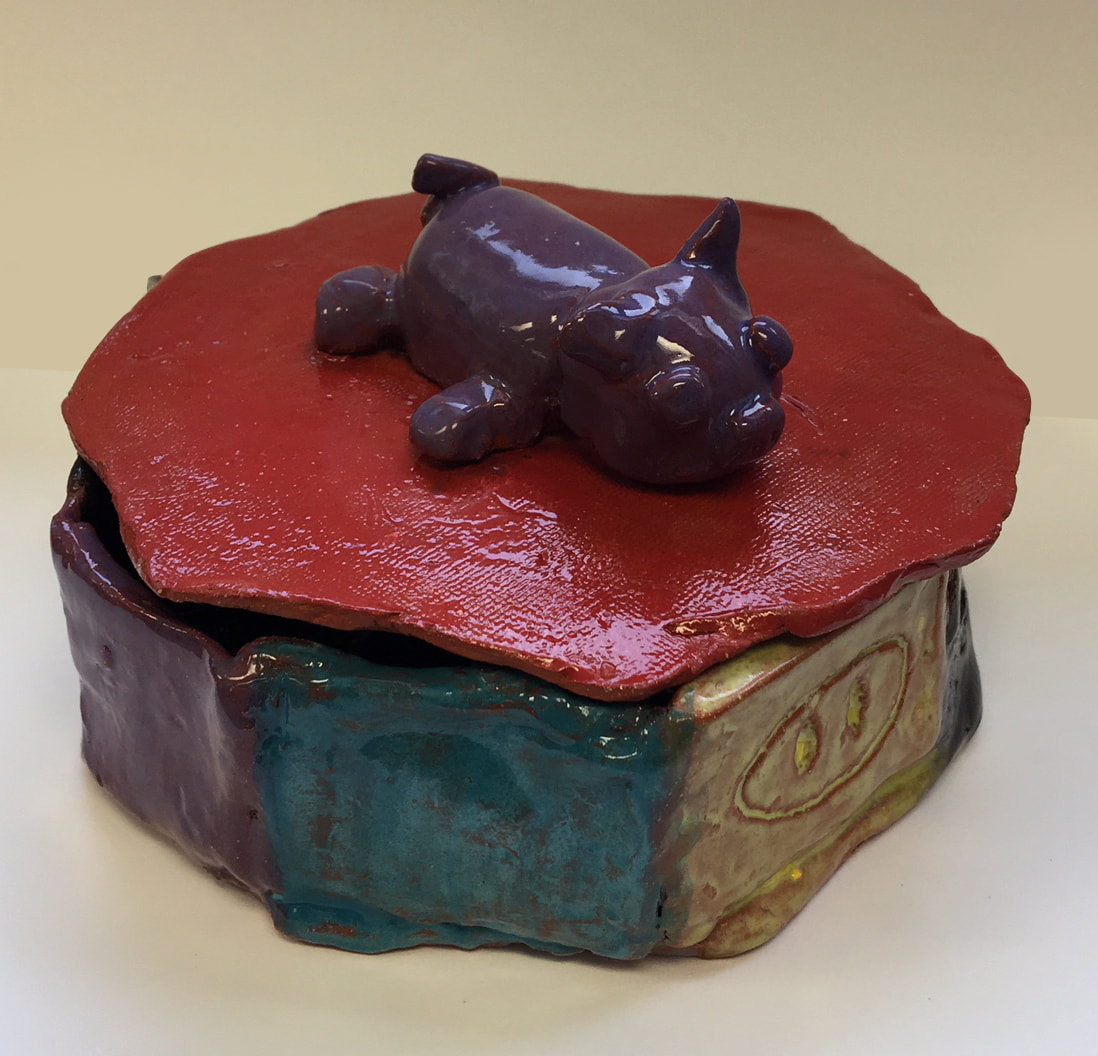
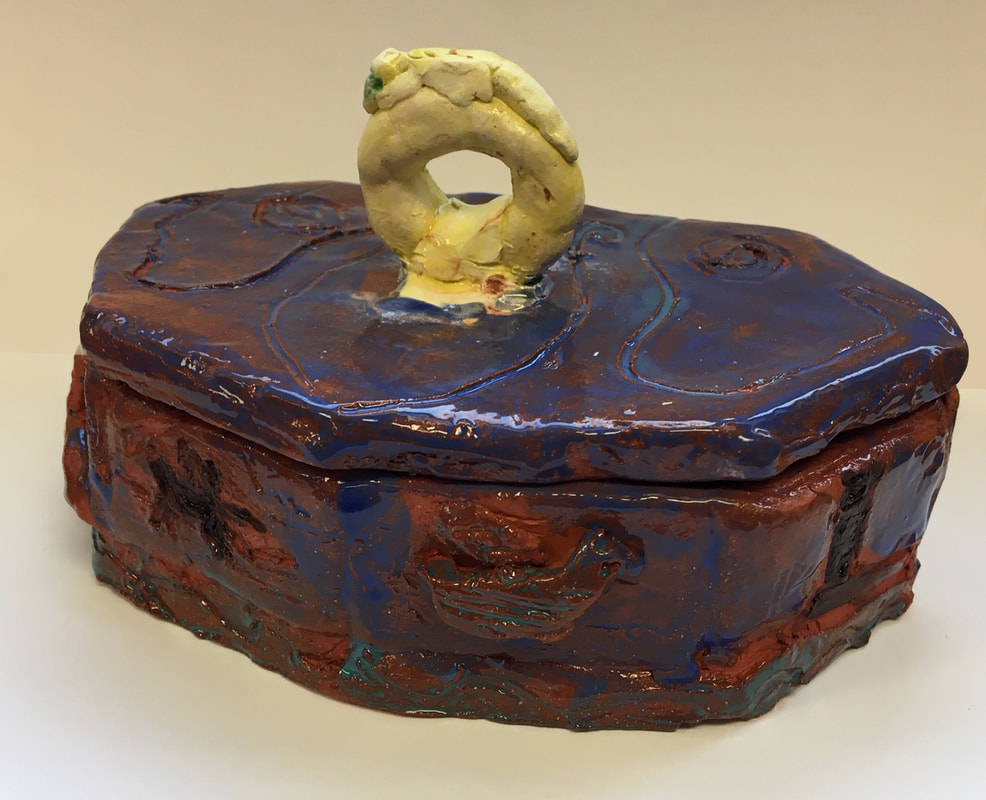
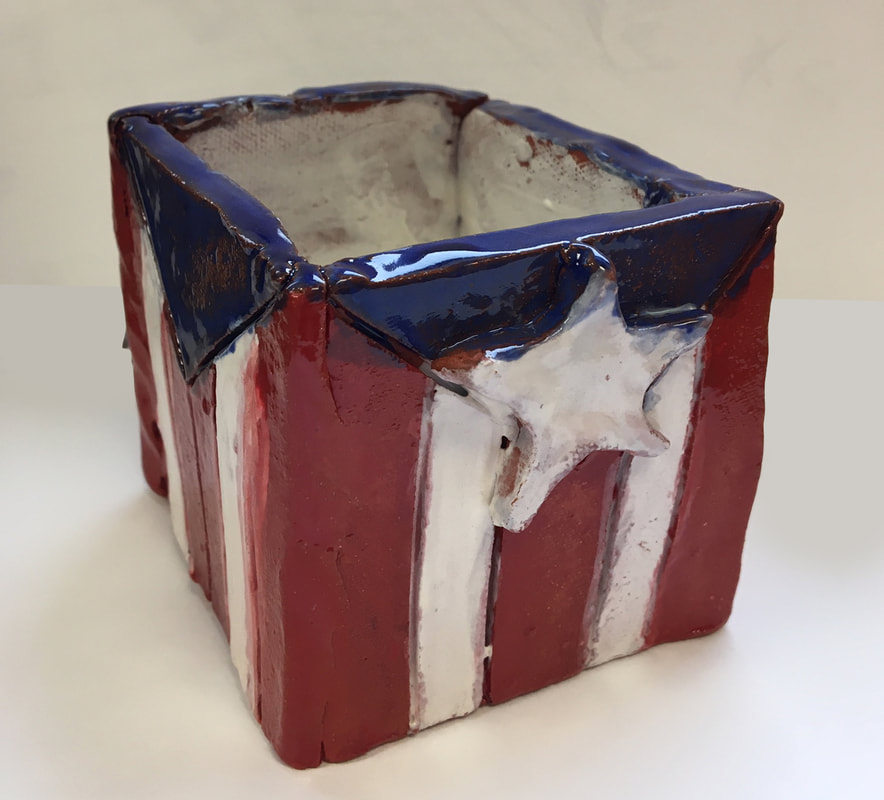
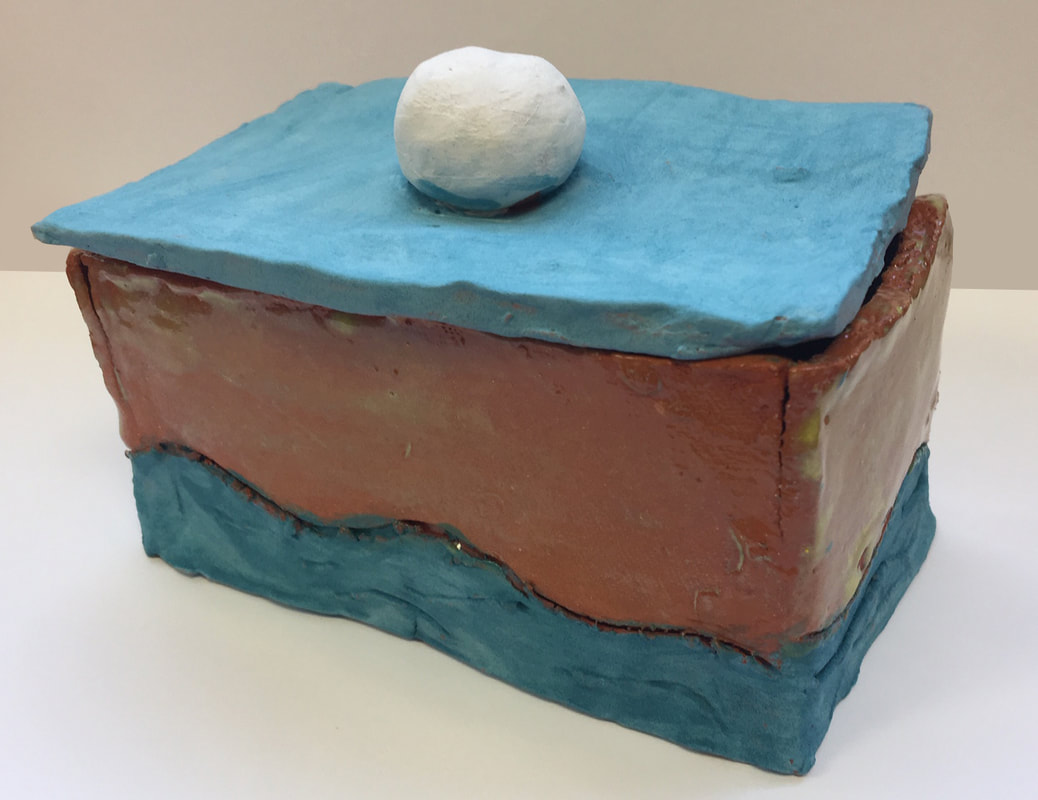
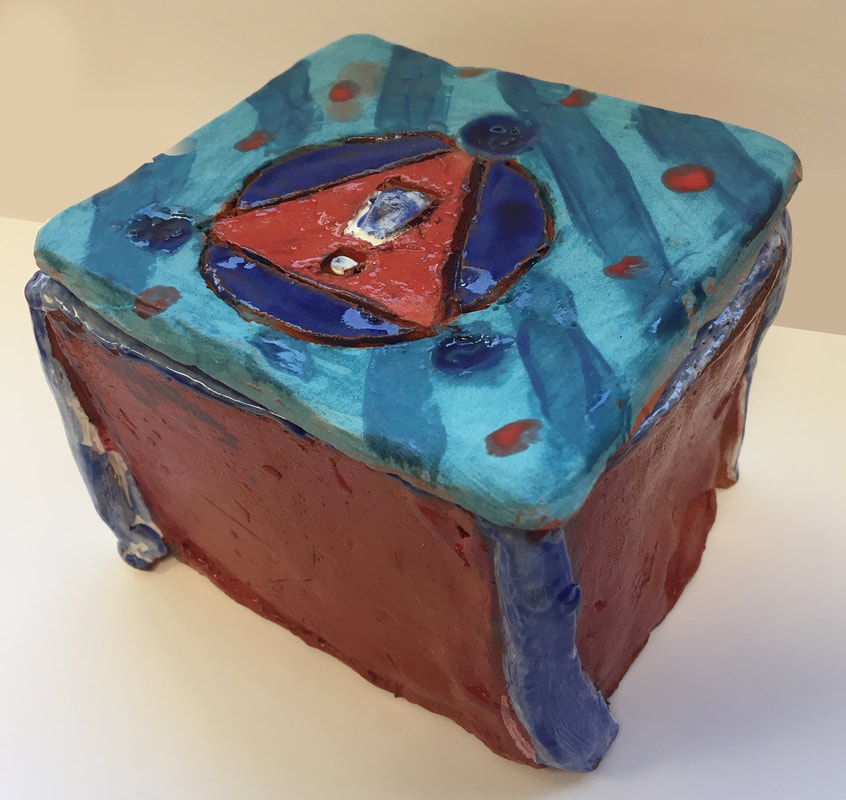
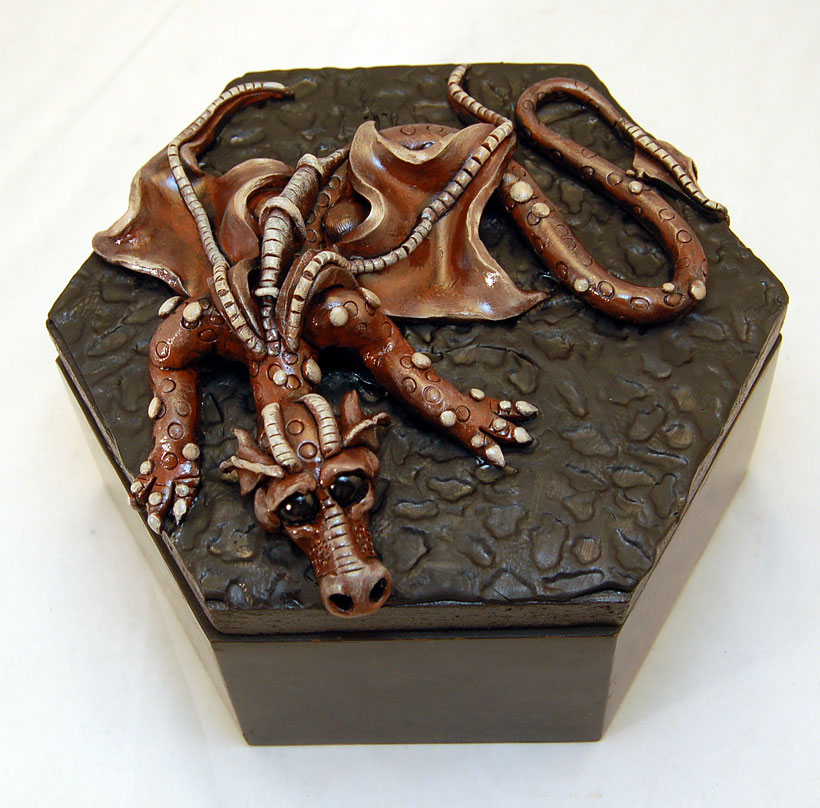
Take a look at some great student examples below!
4. Finished? Complete your Self Evaluation and Artist Statement.
Take a look at some great student examples below!