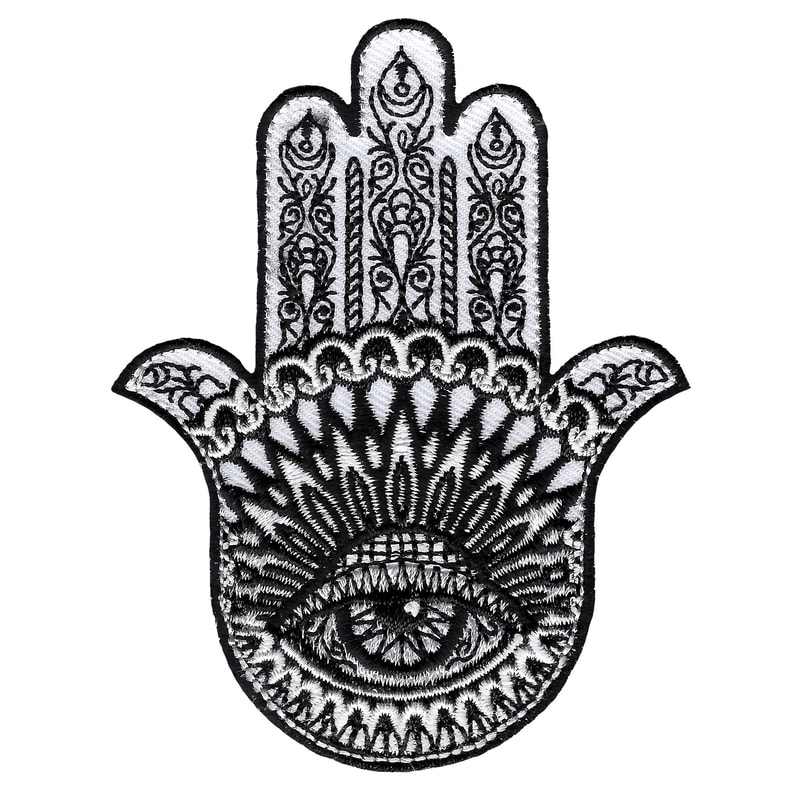
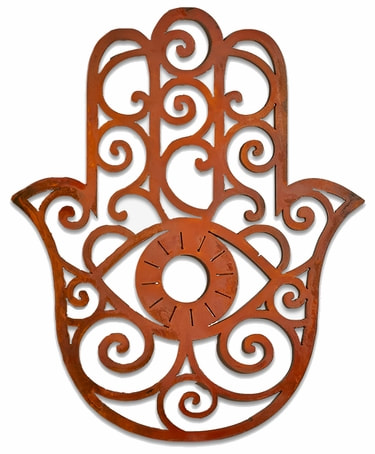
1. Research. What are Hamsa Hands? Where have we seen these icons before? Look below at different hamsa hands and see if any aspect of them looks familiar.

2. Plan. Using a symmetrical design, plan 4 different hamsa hands. Remember, place an eye or a symbol of good fortune in the center of the palm. The planning sheet is attached below.
Click here for the Hamsa Hand Planning Sheet and example page.
3. Create. Flatten (using your hands or a rolling pin) a piece of clay into a slab. Cut one of your hands out of your planning sheet as your template. Cut out a hamsa hand shape.
Using methods to attach, add clay designs to 75% of your hamsa hand. Use carving tools to subtract clay for reductive designs. View the video below if you need a reminder about slip and scoring.
4. Glaze. After bisque firing, your ceramic is ready for glaze. Layer 2-3 coats of glaze on the piece. Remember, DO NOT glaze the back of your piece.
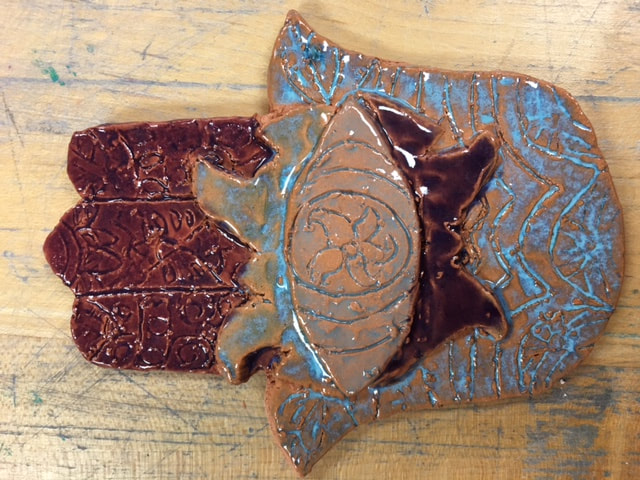
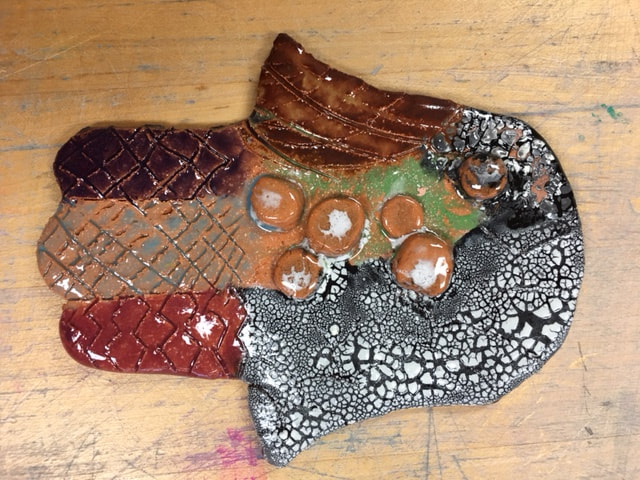
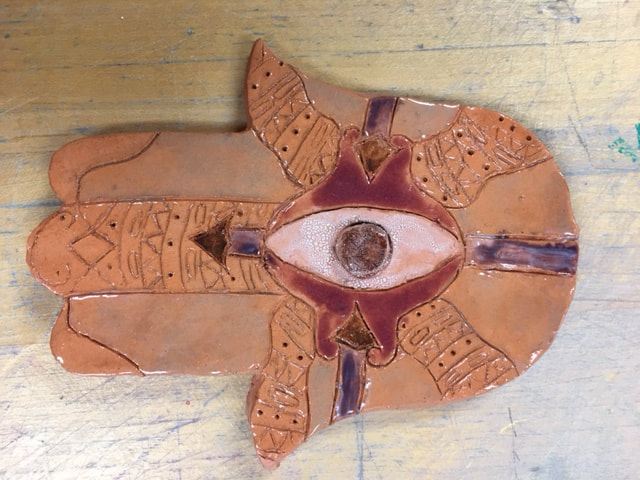
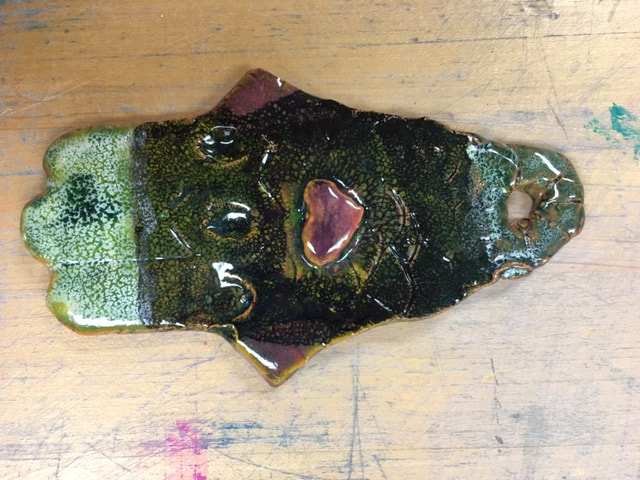
Take a look at inspiring student examples!
Take a look at inspiring student examples!
5. Completed? Fill out the Self Evaluation.
